
Due to popular demand we were asked to do a review of our AR15 setups we helped put together for some customers who came to Evolve Training Group for advice.
We would like to stipulate that Evolve Training Group does not sell small arms and are not planning to do so. On the other hand, we do offer consultancy services to individuals, recreational shooters, companies, … to the best of our knowledge and experience, in order to give these enthusiasts and professionals the best available options concerning small arms and their future purchase.
In 2018 I personally came up with the idea of building an AR15 platform for myself. Discussing the project with other enthusiasts, I quickly concluded that I could make the project available to others who are in need of information regarding their needs in building their own AR15.
If you look at the current market in Europe, you have some great setups readily available from well-known companies. However, if you have a close look most of them have some bits & bites you don’t like and this on a personal preference basis. Being it the pistol grip, stock, overall color, barrel length, handguard type, flash hider, upper receiver, lower receiver, charging handle, … there is almost always minimum one piece on the setup that isn’t to your likings.
Therefore, I decided to choose my own setup and start from scratch. Nevertheless, before choosing my wish list, a lot of studying went beforehand. One of my key requirements was the aspect of Mil-spec. Mil-spec isn’t a brand of some sort and neither is it a quality label like: mil-spec = the best quality. “Mil-Spec” is a term that refers to Military Specifications or standards. More to the point, any firearm made for the U.S. Military is Mil-Spec and the only firearms that are truly Mil-Spec are made for the U.S. Military. Anything that is “mil-spec” is required to be held to specific standards, made of specific materials, made to specific tolerances, pass government level inspections and testing, and received mil-spec certifications stating that the firearms meet the Military Standard or “Mil-Std”. Only weapons in the US military can be truly mil-spec. So as a civilian you can never assemble a 100% mil-spec AR15. Only certain parts will be Mil-spec.

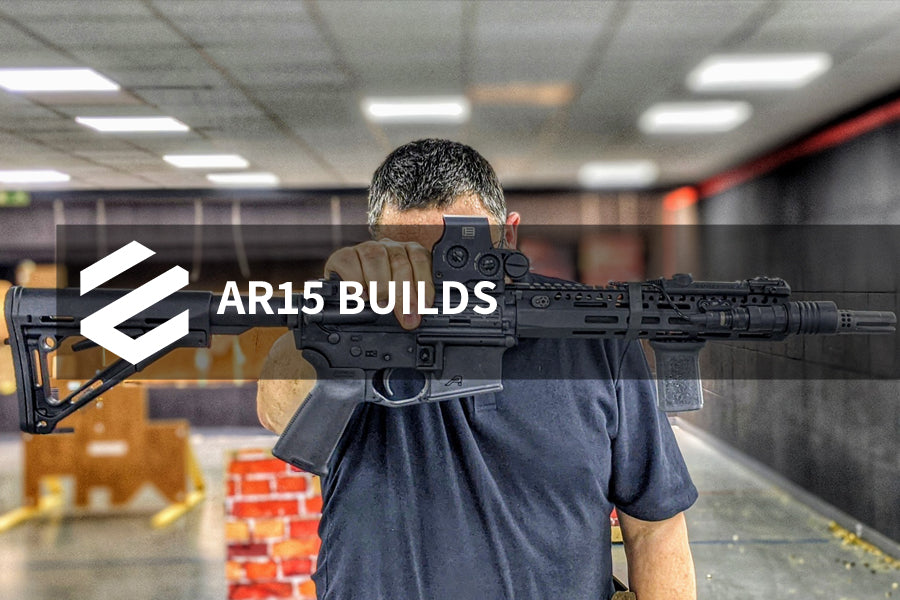
As you can see, we have two builds in a different finish. I will refer to the “BLK” (Black) and “FDE” (Flat Dark Earth) versions for specific differences. I am going to describe the setups of the AR’s from front to back as it should be ;-)
Compensator/Flash hider:
Starting at the tip of the spear is a Surefire Warcomp compensator. During the initial setup my eye fell on the Epsilon VG6. Being a great flash hider/compensator combo, it’s a bit on the loud side especially when shooting indoors. Being a surefire fan I finally opted for the Warcomp, which performance wise is in the same range as the VG6 but a bit more easy on the ears and is compatible with the Surefire Warden.

Barrel:
The barrel on the FDE is a hammered forged, government profile, 12,5” Daniel Defense in 5.56/.223, 1-7 twist and a carbine length gas system. As the barrel is one of the most important parts of the rifle, I decided not to be too greedy when choosing one and go with a renowned brand like DD.
On the BLK one we have installed a CMMG one to the same specs as the Daniel Defense. However, a little bit heavier being a full width barrel.
I am not going to discuss here “why” I specifically choose the 12.5” but I can assure you that the information, concerning precision and power, the 12.5” can stand its ground with the typical 14.5” and even 16” barrels.
Gas block:
The gas block is a standard low profile steel one with a nitride finish and with a .750" gas journal. The gas tube is a standard carbine length steel version so nothing special there.
Handguard:
On the FDE I went with a Midwest 10.5“ (in reality 10.625” ;-)) combat rail handguard which features the M-lok interface from Magpul. The M-lok mounting system interface is in my opinion better than the keymod system. The mounted accessories like lights, grips, etc will be more securely attached than on a bayonet like type interface as the keymod. The combat rail has M-lok slots in seven positions which makes it very user friendly when mounting different options. The rail also features to QD attachments on both side to interface with a sling.
The BLK is fitted out with 10,5 MCMR M-Lok handguard from BCM. Its sold with a picatinny adapter and QD mount.
Both handguards are free float thus eliminating loads on the barrel and reducing the deflection for more accurate shooting.

Back Up Iron Sights:
On the FDE version, in front of the handguard and in conjunction with the rear of the upper receiver, I opted for the Knights Armament Cooperation 300m micro flip up back up iron sights. These are minimalistic but very sturdy. They don’t come cheap but you need to be honest that a good pair of back up sights need to be with a certain degree of quality.
The BLK version is fitted out with Magpul MBUS pro sights. These sights are quality build and are worth their price.
Weapon Mounted light:
On the handguard of both setups and on the 1 O’clock position I mounted a Modlite PLH short body. The M-lok interface is a Haley strategic Thorntail2 which provides a lot of mounting options. The Modlite is manipulated with a Surefire SR07 dual switch, situated on top of the picatinny rail. This gives the shooter the option of momentary and constant use of the light.
Handstop:
On the underside of the handguards you can find the BCM gunfighter handgrip which on de FDE I dremeled down to a „just as needed“ height to aid the shooter in pulling the rifle into the shoulder.
Heat protection:
For heat protection of the hand, G10 M-LOK Railscales are mounted on the FDE version. On the BLK one you will find the BCM Railpanel kit.

Upper and Lower:
On both versions, the upper and lower AR15 receivers are from Aero Precicion, one of the leading AR parts manufacturer in the US. Both parts are mil -spec machined from 7075-T6 forged aluminum. The lower is the Gen2 version which is enhanced with an increased magwell flare and upper tension screw which allows a better fit between upper and lower.
The two parts were internally fitted out with standard mil-spec parts from DPMS. Being an active military shooter I went with a standard one stage milspec trigger as I’m not a big fan of speed/competition triggers. Maybe in the future I will upgrade to a two stage trigger.
On the outside of the lower receiver you can find a Magpul trigger guard (more an esthetic thing) and a Magpul MOE pistol grip. The fire selector on the BLK one is a standard Mil-spec version and the FDE is an BAD-ASS 90 degree ambidextrous safety selector. The primary reason to go ambi is that I like to manipulate the safety with the index of my firing hand when putting the safety on. Compared to other brands it’s a little bit bulkier which in my opinion gives a better positive feel to it. Last but not least, only for testing purposes, I installed a Magpul Battery Assist Device Lever on the FDE. The lever is designed to quickly addresses reloading and malfunction clearance shortcomings of AR15/M16 platforms by extending a paddle to the right side of the weapon, allowing manipulation of the bolt stop from the fire control / ready position with the right-hand trigger finger. I mentioned “for testing” because I don’t really like to manipulate things this close to my trigger.
The upper receiver has two enhancements, being the strike industries dust cover (also for esthetics) and the Raptor-LT charging handle from Radian. The look, feel, and of course ambidextrous functionality; all make this a purchase and simple add-on that I'm really happy about.

Bolt Carrier Group:
The heart of the rifle is the Bolt Carrier Group. Being in Europe, choosing a custom BCG isn’t a big deal as the options are very limited. Not choosing the cheapest, nor breaking the bank, I went with Phase Five and the Double Star 5.56 BCG. The BLK houses the Mil-spec Phase 5’s AR-15 bolt carrier group and features a heat treated and chrome lined inner with a black phosphate coating. The complete bolt carrier group includes cam pin, firing pin, gas key, and bolt.
The FDE is running the Double Star. Machined from high-grade 8620 carbon steel to mil-spec dimensions, with hard-chrome plated steel firing pin and chrome-lined, staked gas key for added durability.
Optics:
As a primary aiming device I’ve installed an EOTECH EXPS 3-0. I’ve always been a big fan of Eotech since I bought my first 512 back in 2007. I’ve been using Aimpoint on the job for quite some years now but I personally feel that the Eotech gives you more functionality compared to a single red dot. The only downsides of the EXPS is the battery life and weight compared to the slick Aimpont T1 or 2. Other options for an optic is a LPVO. But then again, it all comes down to the eventual use of your carbine.

Buffer:
The aft part of the rifles are fitted out with a standard Mil-spec buffer assembly which comprises out the tube itself, H1 buffer and buffer spring.
Stock:
There are a lot of different options available when choosing the stock. I went with Magpul as they are still the leading manufacturer in furniture for a lot of weapon types, the AR platform in particularly. You can see the Magpul CTR Carbine stock, both in mil-spec standard. The CTR stock is a simple, reliable and a very common stock amongst AR’s. The CTR also features a supplemental friction lock system that minimizes wobble. The SL (Slim Line) has a more modern look to it and is in relation to the CTR a little bit longer.
During the writing of this blogpost, I managed to get my hands on a BCM Gunfighter MOD0 stock for testing purposes. To be honest, the stock doesn’t change the overall performance of the carbine. Nevertheless, when you choose a stock, have a look at weight, build construction and also length.
The BCM stock is a bit lighter than the CTR and has only one lever to manipulate when extracting the stock.

Troubleshooting:
After the installation and the much needed oiling of the specific parts, the rifle was shot for the first time and all worked just fine with no issues. The BCG was a little bit “scratchy” but after a couple of hundred rounds it received the necessary break-in and was running smooth.
I did notice that the extraction direction was to the 1 O’ clock which indicates that the rifle is over gassed. Due to the shorter barrel the gas pressure is a lot harsher that compared to a 14.5” barrel. Not a big issue but it’s been said that your moving parts can wear out a bit faster. To resolve the extraction problem, the main idea is trying to reduce the speed of cycling of the BCG. There are different ways to accomplishing this. A heavier BCG was out of the question ;-) One of the first things I did was installing a heavier buffer (H3) which already had a big improvement with extraction at 3 O’clock. To even more enhance the “perfect” extraction pattern I installed the BCM Extractor Spring Upgrade Kit. It features a stronger spring and O-ring which indices a more powerful extraction. Overall result was a perfect 4 O’ clock extraction pattern.

Meanwhile I have spoken to some AR experts and they confirmed that the 12:00 to 03:00 ejection is perfectly normal and it should be like that. According to the US ARMY it would prevent hot brass ejecting from 03:00 upwards to the rear falling into a collegues neck with a dangerous monkey dance with his or her rifle as a result.
Conclusion:
If you are looking for a custom AR15 build, this setup is a very good starting point. Try to put your money in a branded barrel and BCG, which are the two most important items of your carbine. When choosing the rest of your components, keep in mind that you choose mil-spec marked parts, not for quality reasons, but to be sure everything fits.
If you are interested in a list of the parts mentioned in this post, or if you are in need of a qualified gunsmith, please contact us for further information.
